Get ready to embark on an awe-inspiring journey through the cosmos as astrophotography telescopes take center stage, capturing the intricate beauty of our universe in the most breathtaking detail. Discover the wonders of distant galaxies, nebulae, and celestial bodies, all captured with precision and clarity that will leave you in absolute awe. Brace yourself for a visual feast that will transport you to the farthest reaches of space and unlock the secrets of our awe-inspiring universe.
Choosing the Right Telescope
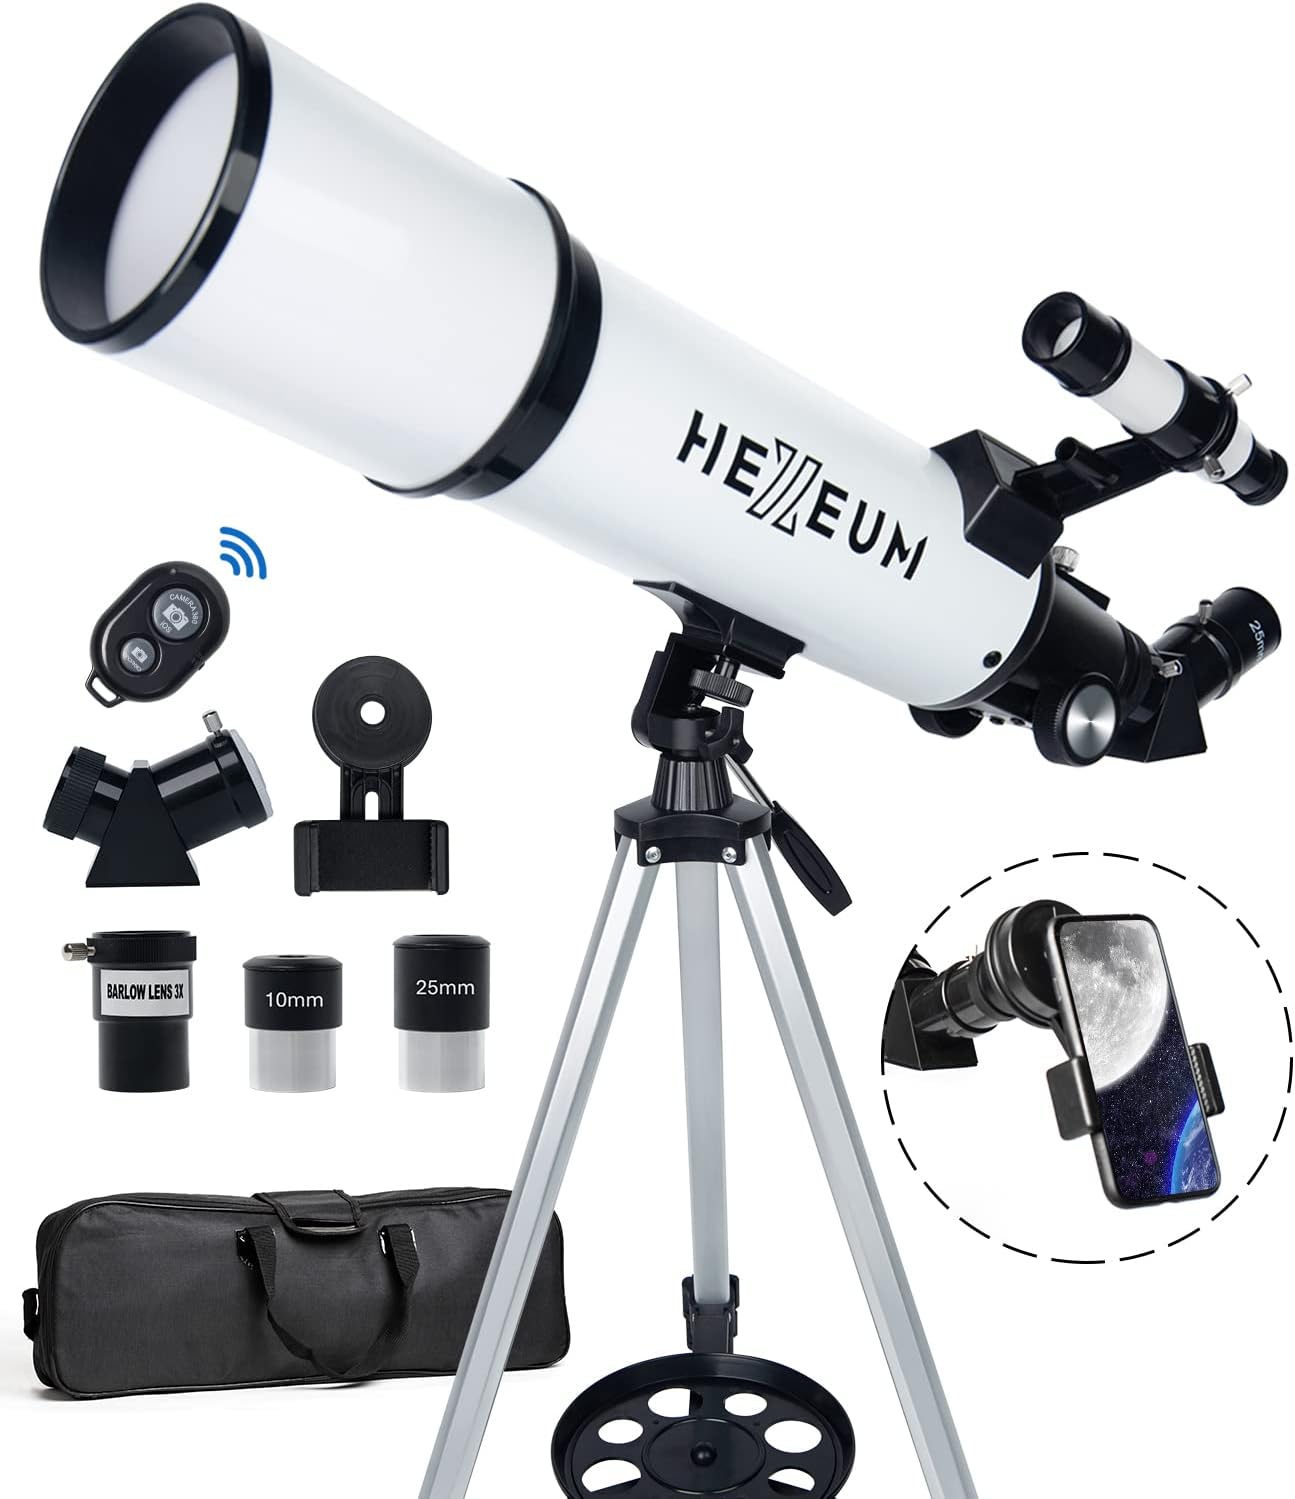
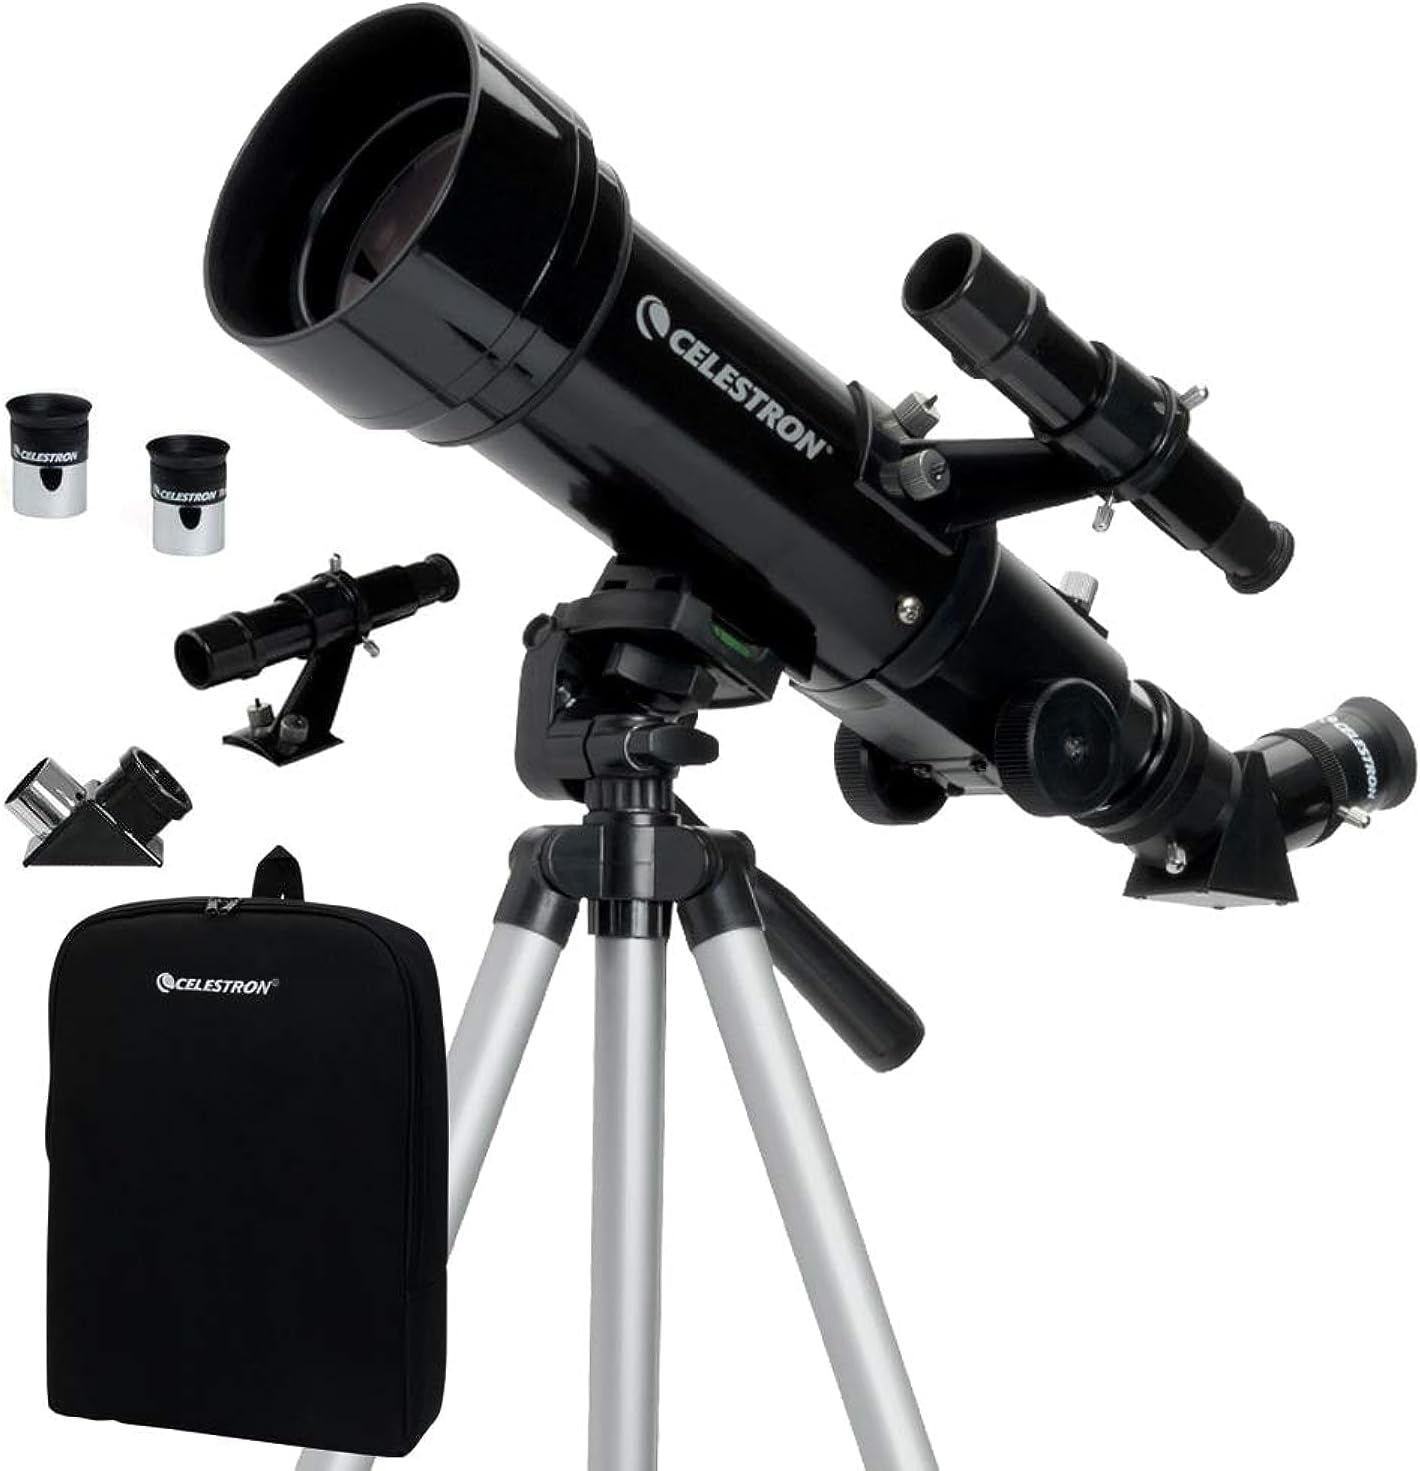
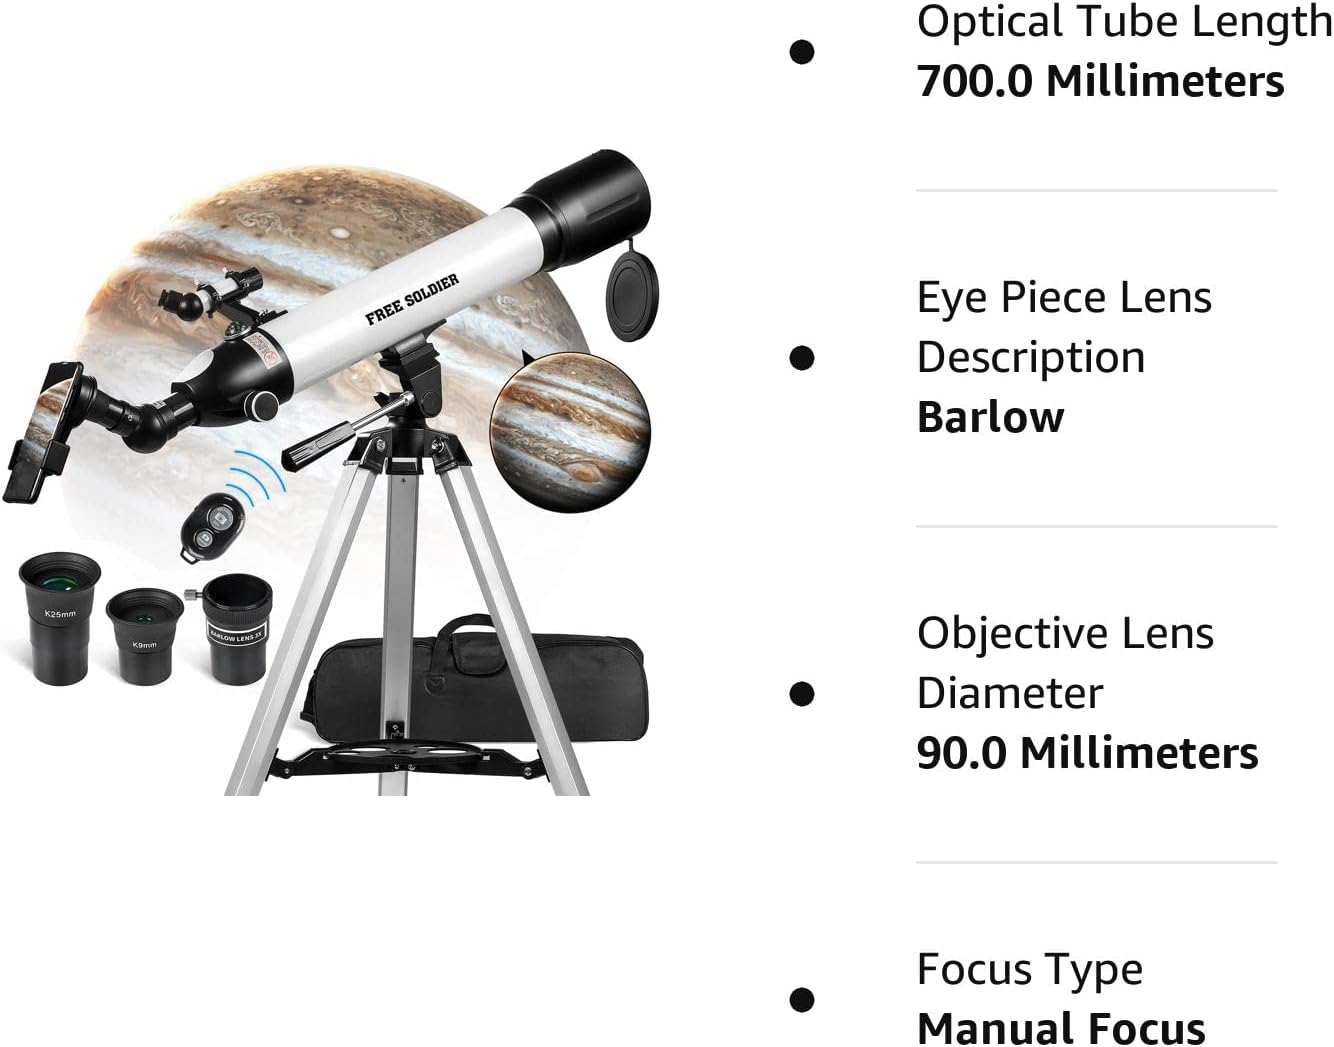
When it comes to astrophotography, choosing the right telescope is crucial. There are several factors to consider, including aperture size, focal length, mount type, tracking system, and portability.
Aperture Size
The aperture size of a telescope refers to the diameter of its primary mirror or lens. It plays a vital role in determining how much light the telescope can gather. In astrophotography, a larger aperture is generally preferred as it allows for better resolution and the capture of more detail in celestial objects.
Focal Length
The focal length of a telescope determines its magnification power and field of view. In astrophotography, a longer focal length can be beneficial for capturing detailed images of objects like planets and galaxies. On the other hand, a shorter focal length is more suitable for wide-field astrophotography, where capturing expansive views of the night sky is the goal.
Mount Type
The type of mount you choose for your telescope is crucial for astrophotography. Equatorial mounts are commonly used as they align with the Earth’s axis, allowing for smooth and precise tracking of celestial objects. Altazimuth mounts, on the other hand, are more user-friendly but may not provide the same level of tracking accuracy.
Tracking System
For astrophotography, a tracking system is essential to compensate for the Earth’s rotation. There are two main types of tracking systems: manual and motorized. While manual tracking requires constant adjustment to keep the target object centered, motorized tracking systems automate this process, allowing for longer exposure times and sharper images.
Portability
Consider the portability of a telescope, especially if you plan on venturing to dark skies or traveling to different locations for astrophotography. A lighter and more compact telescope will be easier to transport and set up, making it more convenient for capturing stunning images of the cosmos wherever you go.
Camera Adaptability
In astrophotography, the choice of camera is just as important as the telescope itself. Various types of cameras can be used, including DSLR cameras, mirrorless cameras, and specialized astro cameras. Adapters and mounts are also available to connect your camera to the telescope.
DSLR Cameras
DSLR cameras are a popular choice among astrophotographers due to their versatility and wide range of lens options. They offer manual control over exposure settings and the ability to capture high-resolution images. With the right adapter, DSLR cameras can be easily attached to a telescope, allowing for impressive astrophotography results.
Mirrorless Cameras
Mirrorless cameras have gained significant popularity in recent years, thanks to their compact size and advanced technology. They offer features like electronic viewfinders, high ISO sensitivity, and excellent image quality. With the appropriate adapter, mirrorless cameras can also be connected to a telescope for stunning astrophotography.
Astro Cameras
Astro cameras are designed specifically for astrophotography. They often come with built-in cooling systems to reduce sensor noise and feature specialized software for capturing and processing astronomical images. While more expensive than DSLR or mirrorless cameras, they offer exceptional sensitivity and quality for dedicated astrophotographers.
Adapters and Mounts
To connect your camera to the telescope, you’ll need the right adapters and mounts. Various options are available, depending on the camera and telescope combination. T-rings, camera-specific adapters, and T-adapters are commonly used to achieve a secure and stable connection.
Accessories for Astrophotography
In addition to the telescope and camera, certain accessories can enhance your astrophotography experience and improve the quality of your images.
Eyepieces
Eyepieces are essential for visual observations but can also be used in astrophotography for focusing and framing the subject. Different eyepieces offer various magnification levels, allowing you to capture different levels of detail in celestial objects.
Barlow Lenses
Barlow lenses act as magnifiers by increasing the effective focal length of the telescope. They are particularly useful for capturing detailed images of planets, allowing you to achieve higher magnification without sacrificing image quality.
Focal Reducers
Focal reducers, also known as focal reducers/field flatteners or telecompressors, reduce the effective focal length of a telescope. They help widen the field of view and improve image sharpness, making them ideal for wide-field astrophotography.
Filters
Filters play a crucial role in astrophotography by enhancing contrast and reducing light pollution or unwanted wavelengths. Common types of filters used in astrophotography include light pollution filters, narrowband filters for capturing specific wavelengths, and UV/IR cut filters for color correction.
Auto-guiders
Auto-guiders are devices that provide precise tracking control during astrophotography by automatically adjusting the telescope’s position. They use guide cameras and software to monitor and correct any tracking errors, allowing for longer exposure times and sharper images.
Understanding Exposure and Settings
Getting the right exposure and knowing which settings to use are key elements of successful astrophotography. Understanding concepts like shutter speed, ISO sensitivity, aperture, image stacking, and dithering can significantly impact the quality of your images.
Shutter Speed
Shutter speed refers to the length of time the camera’s shutter remains open during an exposure. In astrophotography, longer shutter speeds are typically used to capture sufficient light from celestial objects. However, the length of the exposure should be balanced carefully to avoid star trailing caused by the Earth’s rotation.
ISO Sensitivity
ISO sensitivity determines the camera’s ability to capture light. In astrophotography, higher ISO settings are often used to amplify the faint light emitted by distant objects. However, increasing ISO can introduce more noise into the image. Finding the right ISO setting is a balance between capturing detail and minimizing noise.
Aperture
Aperture refers to the opening of the camera lens that controls how much light enters the camera. In astrophotography, a wide aperture (represented by a lower f-number) allows more light to reach the camera’s sensor, resulting in brighter and more detailed images. However, using a wider aperture may also introduce optical aberrations.
Image Stacking
Image stacking is a technique used to enhance the signal-to-noise ratio in astrophotography. Multiple images of the same subject are captured and aligned, then combined to reduce noise and reveal finer details. Software like DeepSkyStacker or Sequator can be used to align and stack the images effectively.
Dithering
Dithering is a technique employed during long-exposure astrophotography to reduce the visibility of noise and enhance image quality. It involves slightly adjusting the camera’s position between each exposure, ensuring that the noise pattern changes slightly with every frame. This helps to randomize the noise, making it easier to remove during image processing.
Planning and Preparing for a Shoot
Before heading out to capture stunning astrophotography, careful planning and preparation are necessary. Certain factors such as dark sky locations, weather conditions, moon phase, power supply, and data management should be taken into consideration.
Dark Sky Locations
Finding a location with minimal light pollution is essential for astrophotography. Dark sky locations offer optimal conditions for capturing the cosmos in stunning detail. Research reputable dark sky areas near you or use light pollution maps to find the best spots for astrophotography.
Weather Conditions
Weather conditions can greatly impact astrophotography. Clear skies with minimal cloud cover are ideal for capturing sharp and detailed images. Check weather reports in advance and plan your astrophotography sessions on nights with the best weather conditions.
Moon Phase
The phase of the moon affects the amount of light pollution in the sky, as well as the visibility of certain celestial objects. New moon or crescent moon phases are preferable for deep sky astrophotography, as they provide darker skies. However, for capturing the moon itself, full moon or near-full moon phases are ideal.
Power Supply
Ensure you have a reliable power supply for your camera and tracking system during your astrophotography sessions. Using external batteries, power banks, or a stable power source will prevent unexpected power loss and allow for longer imaging sessions without interruption.
Data Management
Managing your captured images and data is crucial for effective post-processing. Organize your files in a logical manner, keep backups, and maintain a workflow that allows for efficient data processing and storage. This will ensure that your astrophotography endeavors are well-documented and easily accessible.
Guidelines for Image Processing
Image processing is an essential part of astrophotography and can greatly enhance the quality of your images. Follow these guidelines to optimize your post-processing workflow.
Calibration Frames
Calibration frames, such as dark frames, flat frames, and bias frames, are necessary to correct artifacts and imperfections in astrophotography images. They help remove sensor noise, vignetting, and other optical anomalies, allowing you to achieve cleaner and more accurate final images.
Noise Reduction
Noise reduction techniques are crucial for reducing grain or speckles in astrophotography images. Various software tools, such as Adobe Photoshop, PixInsight, or DeepSkyStacker, offer specific algorithms or filters that can effectively reduce noise while preserving important details in the image.
Stacking and Aligning
Stacking and aligning multiple images of the same subject is a powerful technique to enhance signal-to-noise ratio and minimize random noise. Software tools like DeepSkyStacker and Sequator can automatically align and stack your images, creating a final image with improved clarity and detail.
Color Calibration
Correct color calibration is essential for accurately representing celestial objects in astrophotography. Adjusting white balance, color curves, and saturation levels during post-processing can restore the correct colors and enhance the visual impact of your images.
Sharpening and Enhancement
Sharpening techniques, such as unsharp masking or deconvolution, can be applied selectively to bring out finer details in astrophotography images. Care should be taken not to over-sharpen, as it can introduce artifacts and reduce the overall quality of the image. Additionally, selective enhancement of specific features, such as nebulae or star clusters, can be achieved through localized adjustments.
Common Challenges and Troubleshooting
Astrophotography can present various challenges that may affect the quality of your images. Here are some common challenges and troubleshooting tips to help you overcome them.
Light Pollution
Light pollution can significantly impact astrophotography, reducing contrast and obscuring faint details in the night sky. To mitigate its effects, consider shooting from dark sky locations, using light pollution filters, or adjusting post-processing techniques to improve the visibility of your subject.
Optical Aberrations
Optical aberrations, such as chromatic aberration, coma, or astigmatism, can degrade image quality and distort the details of celestial objects. High-quality optics and careful adjustment of focus and other settings can help minimize these aberrations. Additionally, calibration frames and post-processing techniques can correct many optical imperfections.
Tracking Errors
Tracking errors can manifest as star trailing in your astrophotography images. To prevent this, ensure that your mount and tracking system are properly set up and balanced. Regularly check and fine-tune the alignment and tracking during long exposures to ensure accurate tracking of celestial objects.
Focusing Issues
Achieving precise focus in astrophotography can be challenging, especially in low-light conditions. Using bahtinov masks, focusing aids, or live view magnification on your camera can help achieve sharp focus. Take your time to fine-tune the focus, as even a slight misfocus can significantly impact the overall quality of your images.
Image Artifacts
Artifact issues, such as hot pixels, amp glow, or dust spots, can appear in astrophotography images. Dark frames and careful post-processing techniques can help reduce or remove these artifacts. Regularly inspect your images and use appropriate tools to address any artifacts during post-processing.
Real-world Examples
To showcase the possibilities of astrophotography, here are some real-world examples of different types of astrophotography:
Planetary Imaging
Planetary imaging focuses on capturing details of planets in our solar system. High magnification and fast shutter speeds are typically used to reveal the intricate features of planets like Jupiter, Saturn, or Mars. Techniques such as lucky imaging, capturing hundreds or even thousands of images, allow for high-resolution composites that highlight fine details.
Deep Sky Imaging
Deep sky imaging involves capturing faint and distant celestial objects such as galaxies, nebulae, and star clusters. Long exposures and sophisticated tracking systems are necessary to gather enough light and detail from these objects. Image stacking and post-processing techniques help enhance the visibility of intricate structures within these vast cosmic entities.
Wide-field Imaging
Wide-field imaging aims to capture expansive views of the night sky, often incorporating prominent constellations and celestial landmarks. A wide-angle lens or telescope with a short focal length is used to capture a larger area of the sky. This style of astrophotography is popular for capturing meteor showers, auroras, or the Milky Way stretching across the horizon.
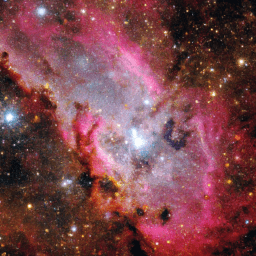
Nebulae and Galaxies
Nebulae and galaxies offer remarkable subjects for astrophotography due to their intricate structures and vibrant colors. Long exposures, narrowband filters, and precise tracking are necessary to reveal the subtle details and delicate structures of these cosmic phenomena. Capturing the emission or reflection nebulae, as well as distant galaxies, showcases the vastness and beauty of our universe.
Star Clusters
Star clusters, such as open clusters or globular clusters, consist of a group of stars that are gravitationally bound together. These clusters make captivating targets for astrophotography, showcasing densely packed stars with stunning patterns. Precise tracking and exposure settings allow for detailed images that highlight the intricate arrangement of stars within the clusters.
Astrophotography Projects and Communities
Engaging with astrophotography projects and communities can provide valuable insights, collaborations, and inspiration for aspiring astrophotographers. Here are some avenues to explore:
Collaborative Projects
Collaborative projects bring together astrophotographers from around the world to collectively contribute to scientific research or create awe-inspiring celestial images. Projects like the Deep Sky West collaboration and the Global Star Party initiative offer opportunities to collaborate with like-minded individuals to capture stunning astrophotography.
Online Platforms
Online platforms, such as astrophotography forums and social media groups, provide a space for astrophotography enthusiasts to share their work, exchange tips and techniques, and discuss challenges. Platforms like Cloudy Nights, Reddit’s r/astrophotography, or Astrobin allow for connections with a larger astrophotography community.
Workshops and Events
Attending workshops or events related to astrophotography can be an excellent opportunity to learn from experienced photographers, gain hands-on experience, and network with fellow enthusiasts. Many observatories, astronomy clubs, or photography organizations organize workshops and events tailored to astrophotography.
Astrophotography Societies
Astrophotography societies bring together individuals passionate about astrophotography. Membership in such societies provides access to resources, educational materials, and often exclusive events. Examples of astrophotography societies include the Astronomical Society of the Pacific and the British Astronomical Association’s Imaging Section.
Equipment Reviews
Reviewing equipment is a helpful way to make informed decisions when purchasing astrophotography gear. Numerous websites and YouTube channels offer in-depth equipment reviews, highlighting the pros and cons of various telescopes, cameras, mounts, and accessories.
Conclusion
Astrophotography is a captivating and rewarding pursuit that allows you to capture the beauty of the cosmos in stunning detail. By choosing the right telescope, adapting your camera, utilizing accessories, understanding exposure, planning your shoots, mastering image processing, and troubleshooting common challenges, you can achieve breathtaking results.
Remember that astrophotography is a continuous learning process. Embrace the journey of discovering new techniques, exploring different subjects, and developing your own unique style. Don’t hesitate to share the wonders of the cosmos with others, whether through online communities, collaborative projects, or local events. Together, we can all marvel at the vastness and beauty of our universe.