Sure thing! So you’re curious about observing the craters on Mercury using a telescope. Well, here’s what you can do. First, make sure you have access to a powerful telescope, preferably one with a large aperture. This will allow you to gather enough light and detail to observe the craters more clearly.
Next, find a location with minimal light pollution, as it can hinder your ability to see faint details on the surface of the planet. Once you have your telescope set up and pointed towards Mercury, try adjusting the focus to get a clearer image. Patience is key here, as Mercury’s position in the sky changes with time, so you may need to wait for the right moment to get the best view. Keep in mind that Mercury is quite close to the Sun, so it’s best to observe it during twilight or dawn, when the planet is not too low on the horizon. With these tips in mind, you’ll be all set to observe the fascinating craters on Mercury with your telescope. Happy stargazing!

Choosing the Right Telescope
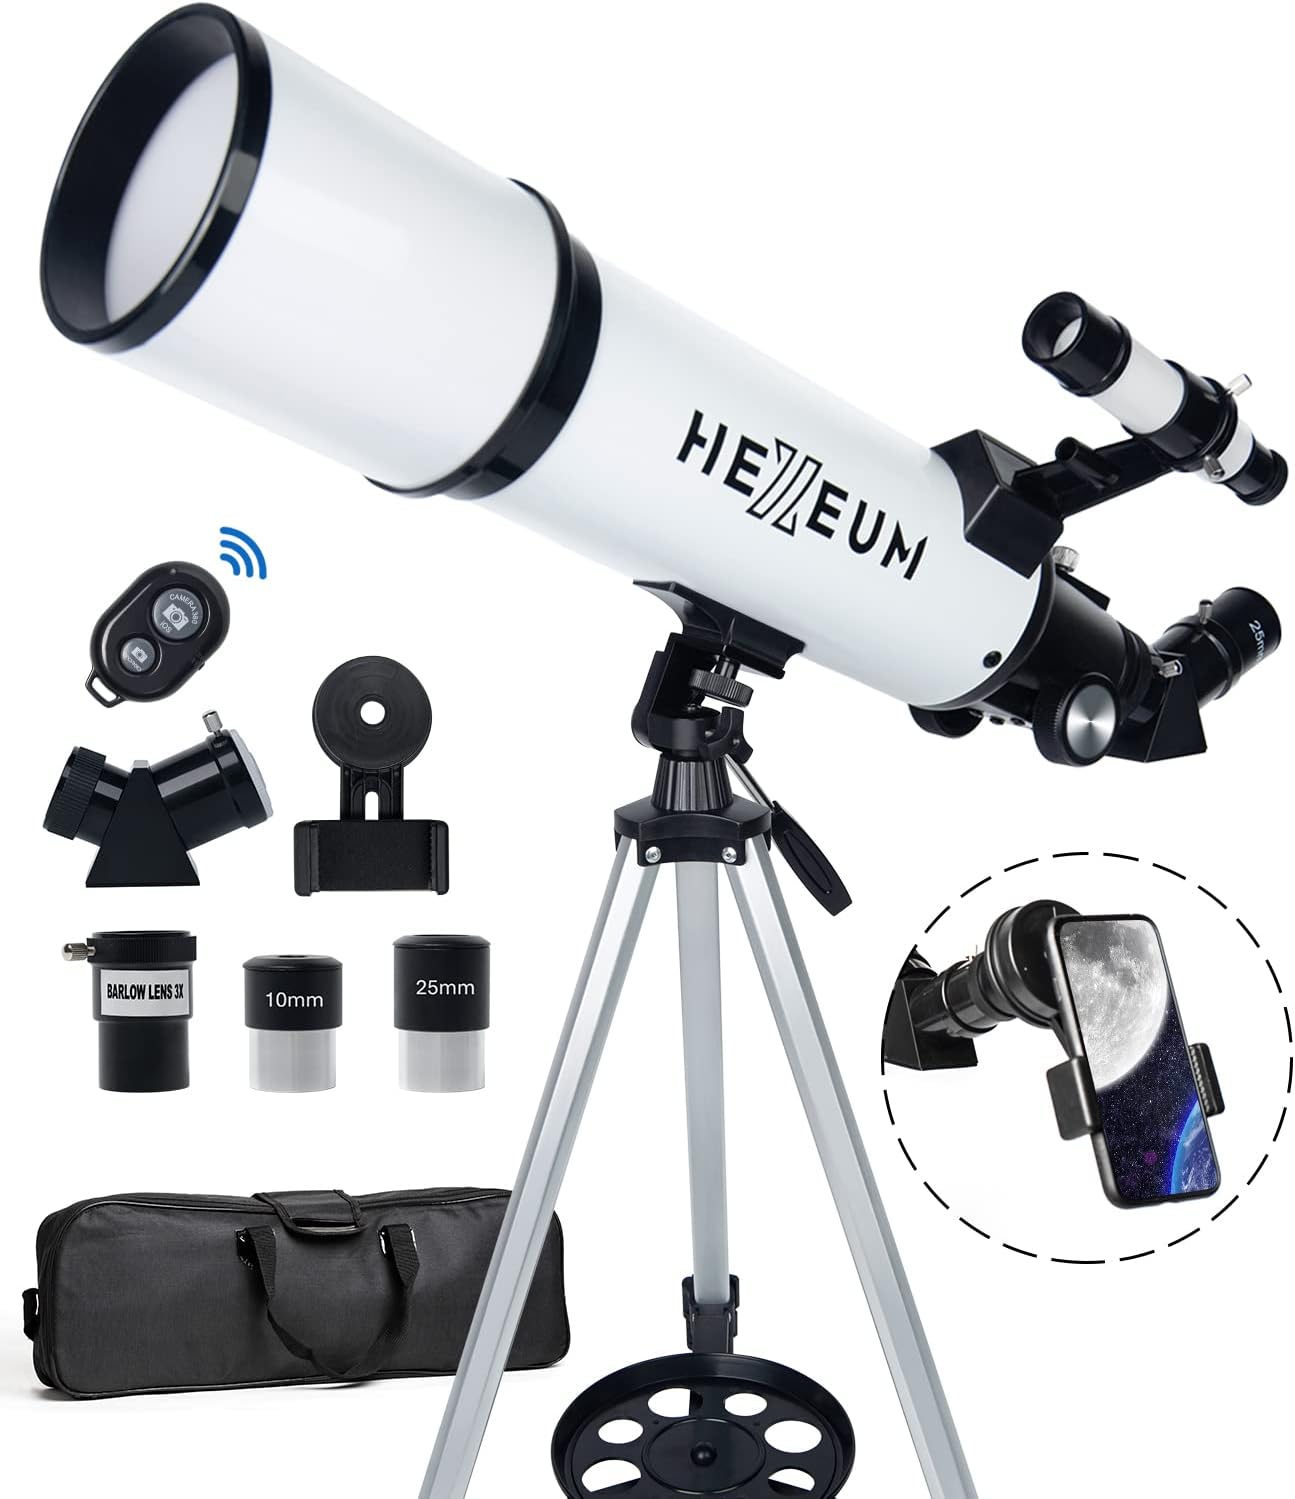
When it comes to observing Mercury with a telescope, the first step is to choose the right equipment. Consider the telescope type that best suits your needs. There are several types, including refractor telescopes that use lenses, reflector telescopes that use mirrors, and compound telescopes that combine both. Each type has its advantages and it’s important to choose one that matches your observing goals and budget.
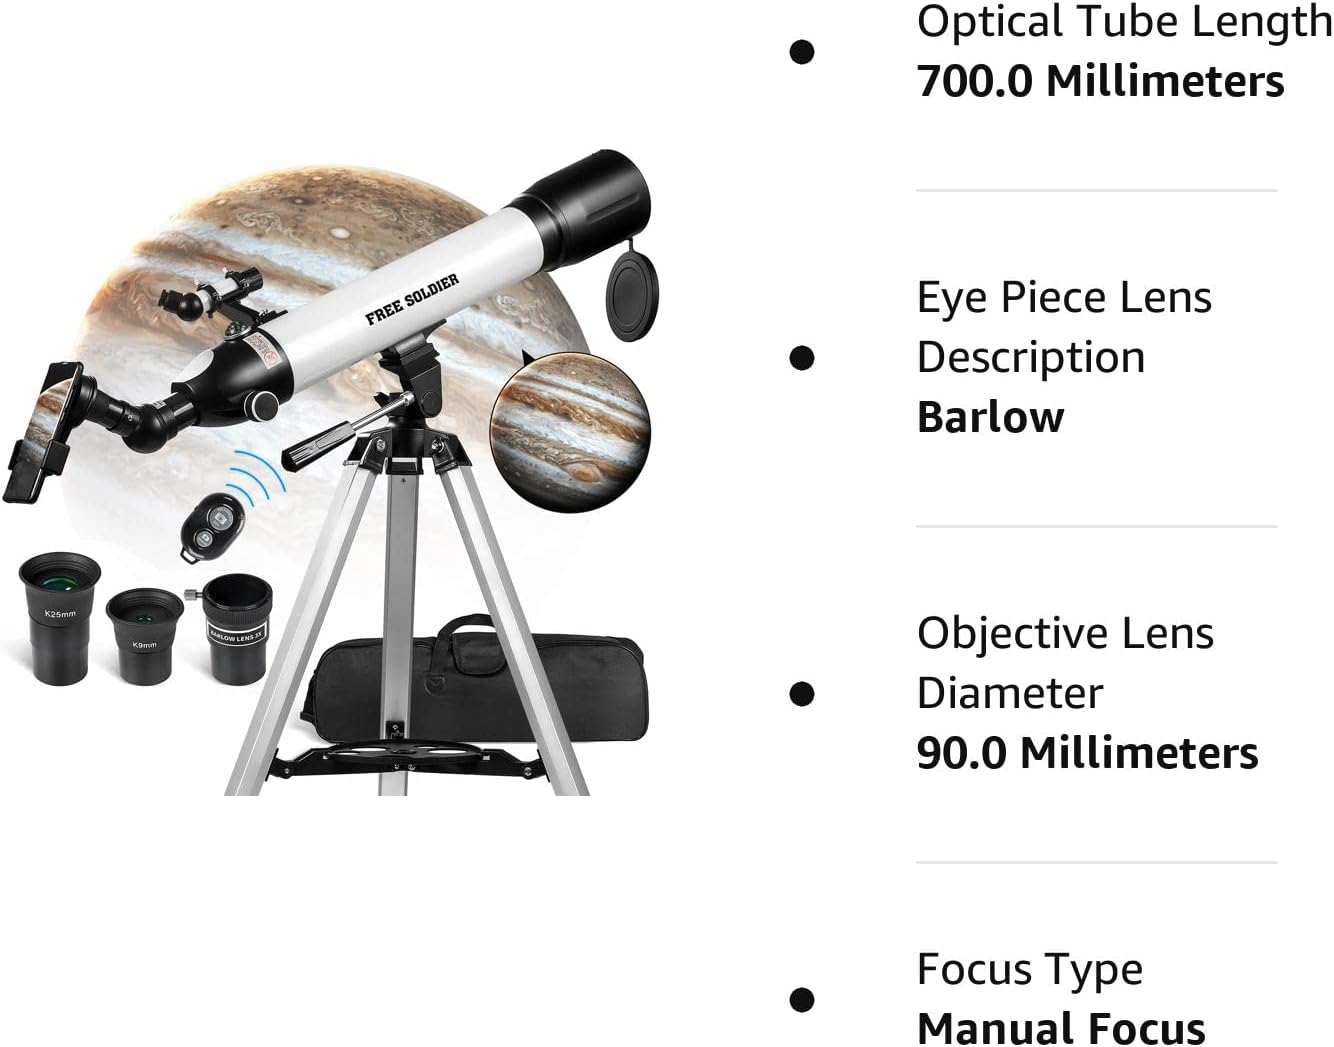
Another important factor to consider is the magnification capability of the telescope. Mercury is a small planet, so you’ll want a telescope with enough magnification to see its details clearly. Keep in mind that higher magnifications don’t always equate to better views, as atmospheric conditions can limit the clarity of the image. It’s recommended to choose a telescope with a moderate to high magnification range for observing Mercury.
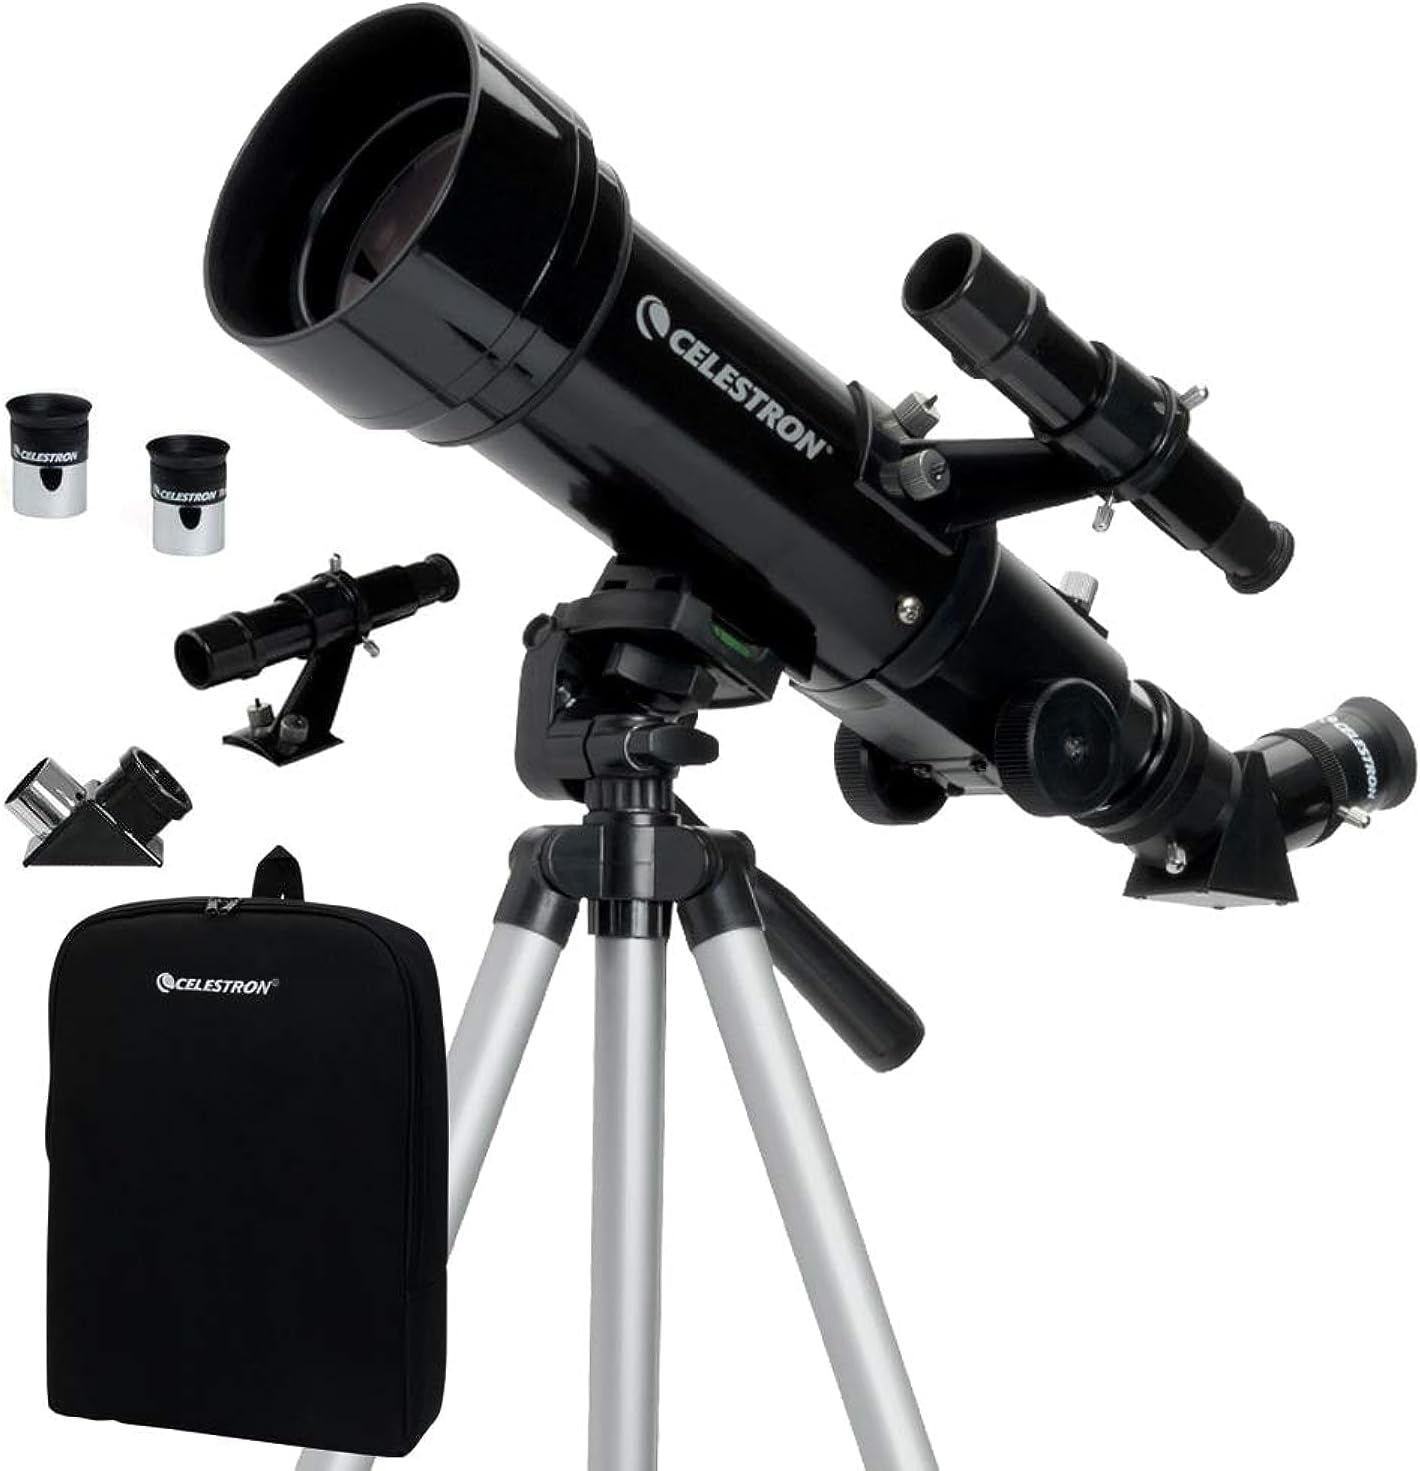
Portability and ease of setup are also essential factors to consider. You’ll want a telescope that you can easily transport to different observing locations, especially if you plan to travel to darker skies. Additionally, a telescope that is simple to set up and align will save you time and frustration when you’re ready to start observing.
Understanding Mercury’s Orbit and Positioning
Before you can observe Mercury, it’s important to have a basic understanding of its orbit and positioning in the sky. Mercury is the closest planet to the Sun and has a highly elliptical orbit. This means that its distance from the Sun varies significantly throughout its orbit, resulting in its positioning changing in the sky.
To observe Mercury, you’ll need to know when it is visible from your location. This can vary depending on your latitude and the time of year. Mercury is best observed during its greatest elongation, which is when it appears farthest from the Sun in the morning or evening sky. During this time, it will be easier to spot due to its higher altitude in the sky.
The time of year also plays a role in observing Mercury. Depending on your location, there may be certain months when the planet is more easily visible due to the angle of the ecliptic and the Earth’s tilt. Researching the best time of year for observing Mercury in your specific location will greatly enhance your chances of success.
Preparing for Observation
Before you head out to observe Mercury, it’s essential to find a suitable observing location. Look for a spot that has a clear view of the eastern or western horizon, as this is where Mercury will appear. Avoid areas with tall buildings or trees that could obstruct your view.
Checking the weather conditions is also crucial. Clear skies are optimal for observing planets, as any cloud cover can hinder visibility. Be aware of weather patterns in your area and plan your observation sessions accordingly. If the weather isn’t favorable, be patient and wait for a clear night.
Gathering essential equipment and accessories is another important step in preparing for observation. Aside from your telescope, you’ll need a sturdy tripod or mount to stabilize your telescope and prevent any shakiness. Additionally, consider bringing along a red flashlight to preserve your night vision and a star chart or astronomy app to help with identifying reference points in the sky.
Calibrating and Aligning the Telescope
To ensure accurate observations of Mercury, it’s crucial to calibrate and align your telescope properly. Start by setting up your telescope on a stable and level surface. Use a sturdy tripod or mount to minimize vibrations and maintain stability throughout your observation.
Perform a rough alignment by pointing your telescope towards a bright object in the distance during daylight. This will help you roughly align the telescope’s optics and make it easier to locate Mercury once it is visible in the evening or morning sky.
Once it’s dark, you can then precisely align the telescope using an eyepiece. Choose a bright star or planet near Mercury’s expected location and center it in your eyepiece. Adjust the telescope’s alignment knobs until the star or planet is perfectly centered. This alignment will provide a more accurate view of Mercury when you start observing.

Identifying Mercury in the Sky
To locate Mercury in the sky, consulting star charts or astronomy apps can be extremely helpful. These resources provide detailed maps of the night sky, showing the current position of planets, stars, and other celestial objects. Look for Mercury’s position relative to other reference points or constellations to narrow down its location.
Once you have a general idea of where Mercury should be, it’s time to identify reference points in the sky. Use bright stars or recognizable constellations as markers to guide you. By aligning your telescope with these reference points, you’ll increase your chances of successfully targeting Mercury.
A finderscope can also be a valuable tool in locating Mercury. This small telescope attached to your main telescope provides a wider field of view, making it easier to initially locate Mercury. Once you’ve located Mercury through the finderscope, you can then switch to a higher magnification eyepiece for detailed observations.
Adjusting the Telescope Settings
Once you have Mercury in your telescope’s field of view, it’s time to make some adjustments to optimize your observations. Switching to a higher magnification eyepiece will bring Mercury closer and allow you to see finer details on its surface. Experiment with different magnifications to find the balance between clarity and image stability.
Focusing the telescope is another crucial step. Use your telescope’s focus knob to bring Mercury into sharp focus. Adjust the focus slowly and patiently, as rushing through this process can result in blurry images. Take your time to achieve the clearest view possible.
If you want to enhance the details on Mercury’s surface, consider using a color filter. Filters can help bring out specific features or contrasts, making it easier to observe subtle details such as craters or surface features. Experiment with different filters to see which ones provide the best results for your observations.

Observing Mercury’s Craters
Observing Mercury’s craters requires patience and allowing your eyes to adjust to the darkness. Allow at least 20 minutes for your eyes to adapt to the low light conditions. This will greatly enhance your ability to see fine details on Mercury’s surface.
Scan Mercury’s surface systematically to search for visible craters. Start by focusing on the terminator, which is the line between the illuminated and dark portions of the planet. This is where craters cast long shadows, making them easier to spot. Move your telescope along the terminator and observe the various craters and features that come into view.
To examine craters in more detail, switch to a higher magnification eyepiece. This will allow you to explore individual craters and observe any fine details or variations in their shapes and sizes. Take your time to explore different regions of Mercury’s surface, as each area can offer unique features and geological formations.
Recording Observations and Taking Images
Keeping a log of your observations is an essential part of any amateur astronomer’s journey. Record details such as the date, time, and location of your observation session. Note the telescope settings, including magnification and any filters used. Document your observations of Mercury’s features, such as the size and shape of craters, any surface patterns, or atmospheric conditions.
If you’re interested in astrophotography, consider using a camera adapter to capture images of Mercury. This accessory allows you to attach a camera to your telescope, enabling you to take high-quality photographs. Experiment with different camera settings such as exposure time and ISO to capture clear and detailed images of Mercury.
Analyzing and Interpreting Your Observations
Once you’ve recorded your observations, it’s time to analyze and interpret them. Compare your observations with existing data and images of Mercury to gain a better understanding of its surface features and characteristics. Look for any similarities or differences between your observations and those taken by professional astronomers or space probes.
Consulting scientific literature and resources can provide valuable insights into your observations. Read books, articles, or research papers that focus on the study of Mercury to deepen your knowledge and gain additional context for your findings. Joining online communities or forums dedicated to astronomy can also provide a platform to discuss your observations with fellow enthusiasts and experts.
Maintaining and Caring for Your Telescope
Proper maintenance and care for your telescope are essential to ensure its longevity and optimal performance. Clean the telescope and its optics regularly to remove dust, dirt, or fingerprints that can affect image quality. Use a soft brush or compressed air to remove loose particles and a lens cleaning fluid or solution specifically designed for telescope optics to clean any smudges or spots.
When not in use, store your telescope in a safe and dry place. A protective case or bag can help prevent dust accumulation and protect against accidental bumps or jostles. Avoid storing the telescope in extreme temperatures or humid environments that can damage the optics.
Perform routine maintenance and alignments to keep your telescope in top condition. Regularly check the telescope’s alignment and collimation to ensure accurate observations. Take the time to read the manufacturer’s instructions for your specific telescope model to understand any specific maintenance requirements or adjustments needed.
In conclusion, observing the craters on Mercury with a telescope can be a fascinating and rewarding experience. By choosing the right telescope, understanding Mercury’s orbit and positioning, preparing properly, calibrating and aligning the telescope, identifying Mercury in the sky, adjusting the telescope settings, observing the craters, recording observations and taking images, analyzing and interpreting the findings, and maintaining and caring for your equipment, you will be well-equipped to explore and appreciate the wonders of our closest neighboring planet. Happy observing!