Have you ever wondered how to observe the North Star using a telescope? It’s actually quite a fascinating experience! To begin, locate the North Star, also known as Polaris, in the night sky. It can be found by tracing a line upwards from the end of the Big Dipper’s ladle. Once you have identified Polaris, set up your telescope and adjust the focus to bring the star into sharp view.
Next, take a moment to appreciate the beauty of this celestial wonder. The North Star is special because it appears almost motionless in the night sky, while other stars seem to rotate around it. This is because Polaris is aligned with Earth’s axis, making it a valuable reference point for navigation and timekeeping. By observing the North Star through your telescope, you can gain a deeper understanding of our planet’s position in the vastness of space. So grab your telescope and embark on an exploration of the North Star’s enchanting presence!
Choosing the Right Telescope
Consider the Aperture Size
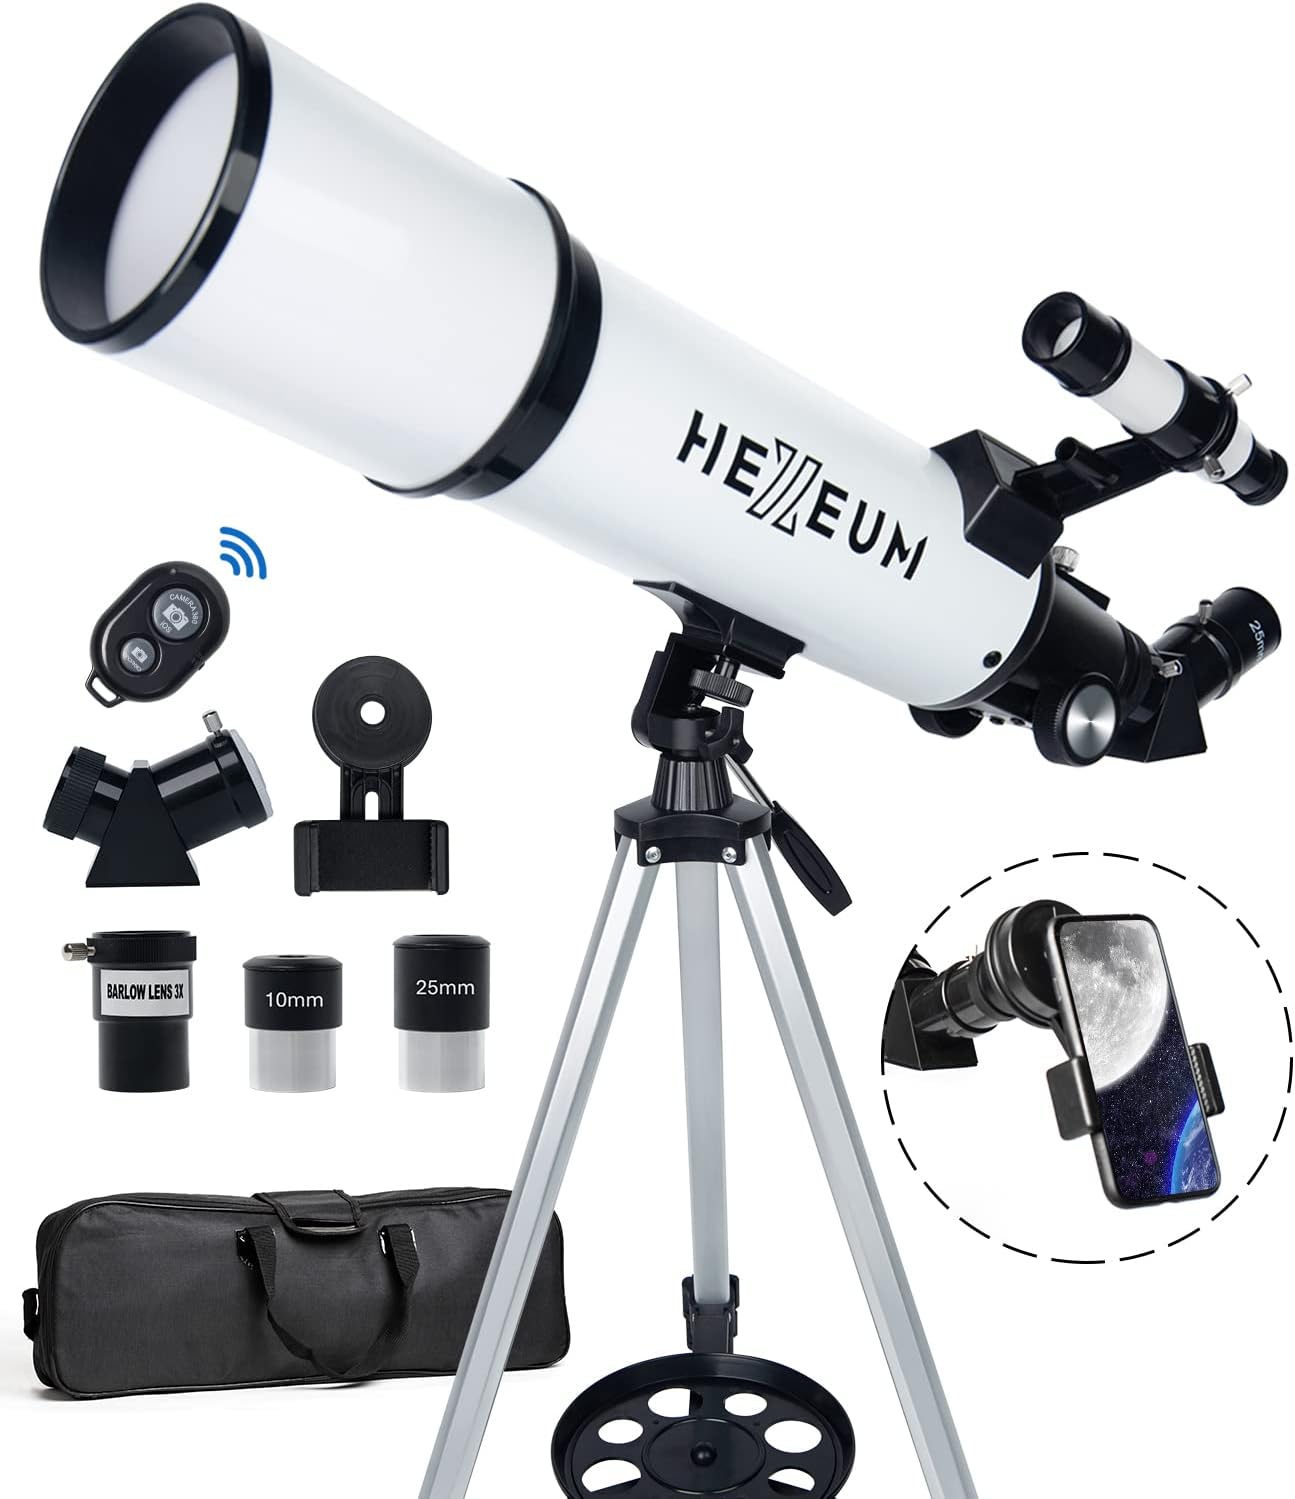
When choosing a telescope to observe the North Star, one of the most important factors to consider is the aperture size. The aperture refers to the diameter of the telescope’s primary lens or mirror, and it determines the amount of light the telescope can gather. A telescope with a larger aperture will allow you to see more detail and fainter objects in the night sky, including the North Star, which is relatively bright but still benefits from a larger aperture. So, when selecting a telescope for this purpose, opt for one with a larger aperture to ensure a clearer and more detailed view of the North Star.
Opt for a Telescope with Good Tracking Abilities
Another key aspect to consider when choosing a telescope for observing the North Star is its tracking abilities. Since the North Star, also known as Polaris, remains relatively stationary in the sky while other stars appear to move throughout the night due to Earth’s rotation, it’s important to have a telescope that can track and follow objects accurately. Look for a telescope with accurate motorized tracking capabilities or a manual tracking option that allows you to easily adjust the telescope’s position as needed to keep Polaris in view.
Choose a Telescope with High Magnification
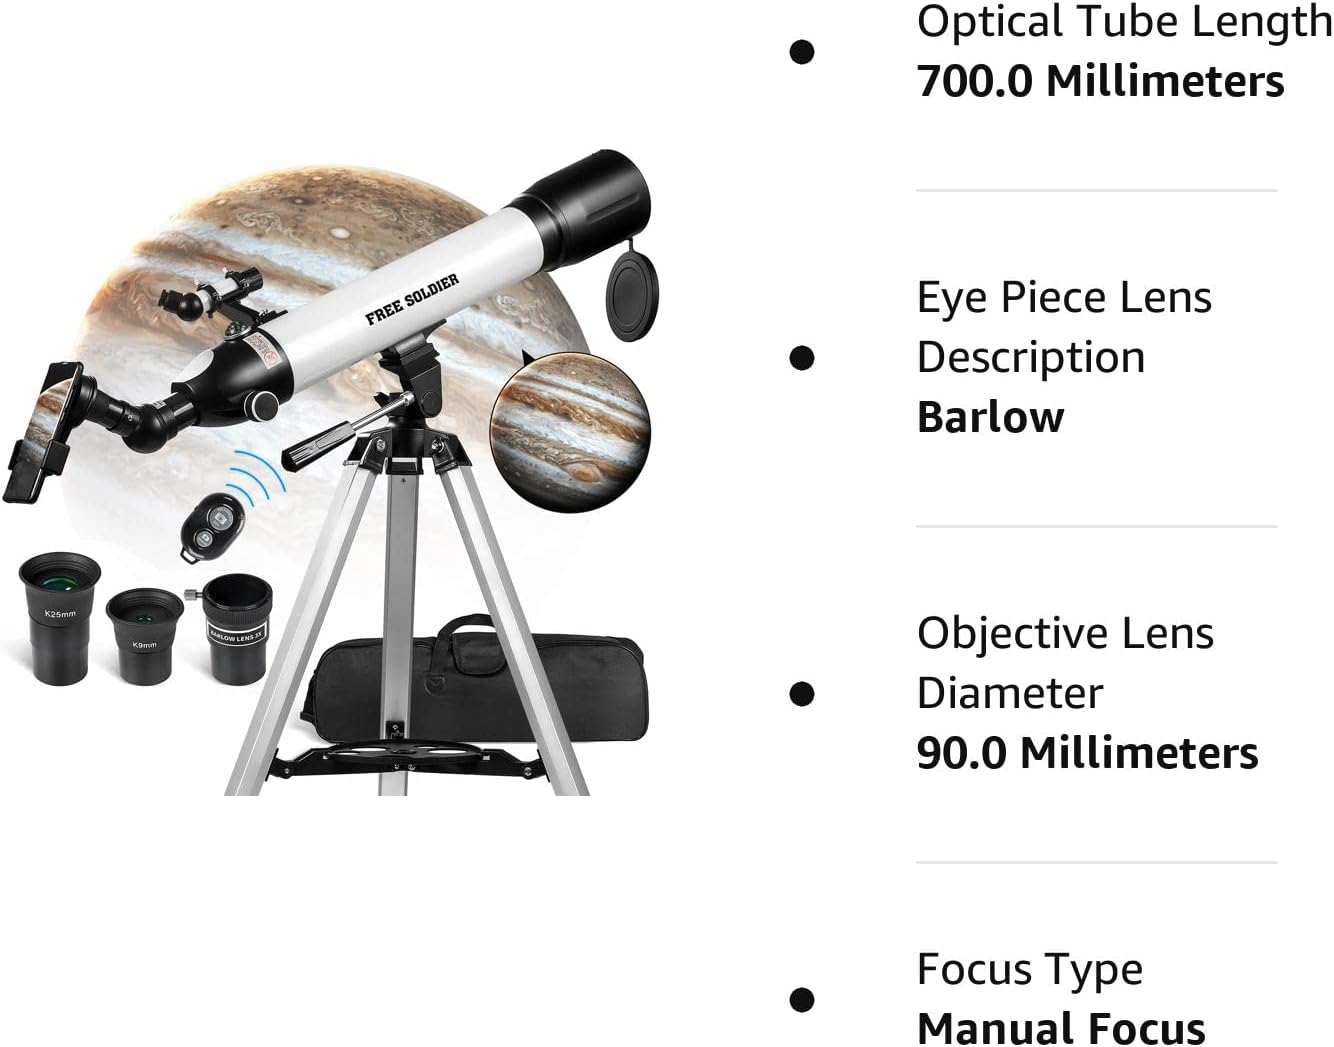
Although the North Star may appear relatively bright in the night sky, it is still quite far away and relatively small. To observe it in greater detail, it’s essential to have a telescope with high magnification. This will allow you to zoom in and see the finer features of Polaris, such as any variations in its brightness or subtle color differences. A telescope with adjustable eyepieces or a zoom feature will provide you with the flexibility to explore different magnification levels and find the one that best suits your observing needs.
Understanding Polaris
Learn About the North Star
Before observing the North Star with a telescope, it’s important to learn about Polaris itself. Polaris is a bright star that is located very close to the North Celestial Pole, making it appear almost stationary in the sky. It is part of the constellation Ursa Minor, also known as the Little Dipper. Polaris has been used for centuries as a navigation tool, guiding travelers in the Northern Hemisphere due to its stable position in relation to the Earth’s axis. Understanding the significance of Polaris and its historical role as the North Star will enhance your experience when observing it through a telescope.
Understand Polaris’ Position in the Sky
To effectively observe the North Star with a telescope, you need to understand Polaris’ position in the sky. Polaris can be found at the end of the handle of the Little Dipper, Ursa Minor. It is positioned almost directly above the North Celestial Pole, which is the point in the sky directly above Earth’s North Pole. This means that Polaris remains stationary while other stars appear to rotate around it over the course of the night due to the Earth’s rotation. Familiarizing yourself with the position of Polaris within the Ursa Minor constellation and its relationship to the North Celestial Pole will make it easier to locate and track when using a telescope.
Recognize Polaris’ Importance for Navigation
Polaris has been an invaluable navigational tool for centuries. Due to its stable position near the North Celestial Pole, it serves as a reliable reference point to determine north. Sailors, adventurers, and travelers have relied on Polaris to find their way in the Northern Hemisphere. By understanding the historical and practical importance of Polaris for navigation, you can develop a deeper appreciation for this celestial object when observing it through a telescope. Take a moment to reflect on how Polaris has played a role in guiding explorers throughout history, and let that knowledge enhance your connection to the night sky.

Finding Polaris in the Night Sky
Look for the Constellation Ursa Major
To locate the North Star, begin by finding the constellation Ursa Major, also known as the Big Dipper. Ursa Major is one of the most recognizable constellations in the northern sky, consisting of seven stars that form a distinctive shape resembling a dipper or ladle. The Big Dipper is visible year-round in the Northern Hemisphere and serves as a helpful signpost for finding other celestial objects, including Polaris.
Locate the Big Dipper
Find the Big Dipper in the night sky by looking for its distinctive shape. The Dipper part of Ursa Major resembles a large spoon or ladle, with four stars forming the bowl and three stars creating its handle. Once you’ve located the Big Dipper, take note of the two stars that form the outer edge of the Dipper’s bowl.
Identify the Two Pointer Stars
The two stars that form the outer edge of the Big Dipper’s bowl are known as the pointer stars. These stars, named Dubhe and Merak, point toward Polaris, the North Star. By drawing an imaginary line connecting these two pointer stars and extending it beyond the Dipper’s bowl, you will arrive at Polaris, giving you a clear and direct path to finding the North Star.
Extend the Line from the Pointer Stars to Find Polaris
Once you’ve identified the two pointer stars, extend the imaginary line that connects them beyond the Big Dipper’s bowl. This line will lead you directly to Polaris, the North Star. Keep in mind that Polaris is not as bright as some other stars in the sky, but its position at the end of the dipper’s handle makes it relatively easy to spot. Trust your telescope’s ability to bring Polaris into sharper focus, allowing you to appreciate its unique beauty and significance.
Preparing Your Telescope
Aligning the Telescope with Polaris
Before you can start observing Polaris with your telescope, it’s crucial to align it properly with the North Star. This alignment process, known as polar alignment, ensures that your telescope is accurately oriented in relation to Earth’s axis. By aligning your telescope with Polaris, you enable it to track celestial objects with greater precision throughout the night. Refer to your telescope’s manual for specific instructions on how to perform a polar alignment, as the process may vary depending on the type of telescope you own.
Set Up Your Telescope in a Sturdy Position
Once your telescope is aligned with Polaris, it’s important to set it up in a sturdy and stable position. This will minimize any vibrations or movements that could affect the clarity of your observations. Find a level surface or use a tripod if your telescope requires one, ensuring that it is secure and won’t be easily disturbed. Taking the time to properly set up your telescope will result in a more enjoyable and productive observing session.
Allow the Telescope to Reach Ambient Temperature
Before you start observing Polaris through your telescope, it’s essential to allow the instrument to reach ambient temperature. Telescopes are designed to function optimally at the same temperature as their surroundings, typically referred to as thermal equilibrium. Rapid temperature changes can cause the internal components of your telescope to expand or contract, affecting its performance. Therefore, it’s advisable to set up your telescope outdoors well in advance of your observing session, giving it enough time to adjust and reach thermal equilibrium.

Using the Telescope to Observe Polaris
Adjust the Focus
Once your telescope is set up and aligned properly, adjust the focus to ensure a clear view of Polaris. Use the focusing knob or mechanism on your telescope to achieve the sharpest image possible. Polaris should appear as a distinct point of light, and adjusting the focus will help reveal any details or variations in brightness that may be present. Fine-tune the focus until you are satisfied with the image quality.
Use Low Magnification to Get Oriented
When first observing Polaris through your telescope, it’s recommended to start with low magnification. This will provide you with a wider field of view, allowing you to get oriented and familiarize yourself with the surrounding stars and constellations. By starting with low magnification, you can take in the entire view and begin to appreciate how Polaris fits into the celestial landscape. Once you are comfortable and familiar with the surrounding area, you can increase the magnification gradually to explore Polaris in more detail.
Gradually Increase the Magnification
After you have become oriented and comfortable with using your telescope, gradually increase the magnification to observe Polaris in greater detail. Increasing the magnification will allow you to see any subtle variations in the star’s brightness or possible color differences. However, keep in mind that using very high magnification may reduce image clarity due to atmospheric turbulence or other factors. Experiment with different magnification levels and find the balance that provides the clearest and most detailed view of Polaris to suit your preferences.
Note the Color and Brightness of Polaris
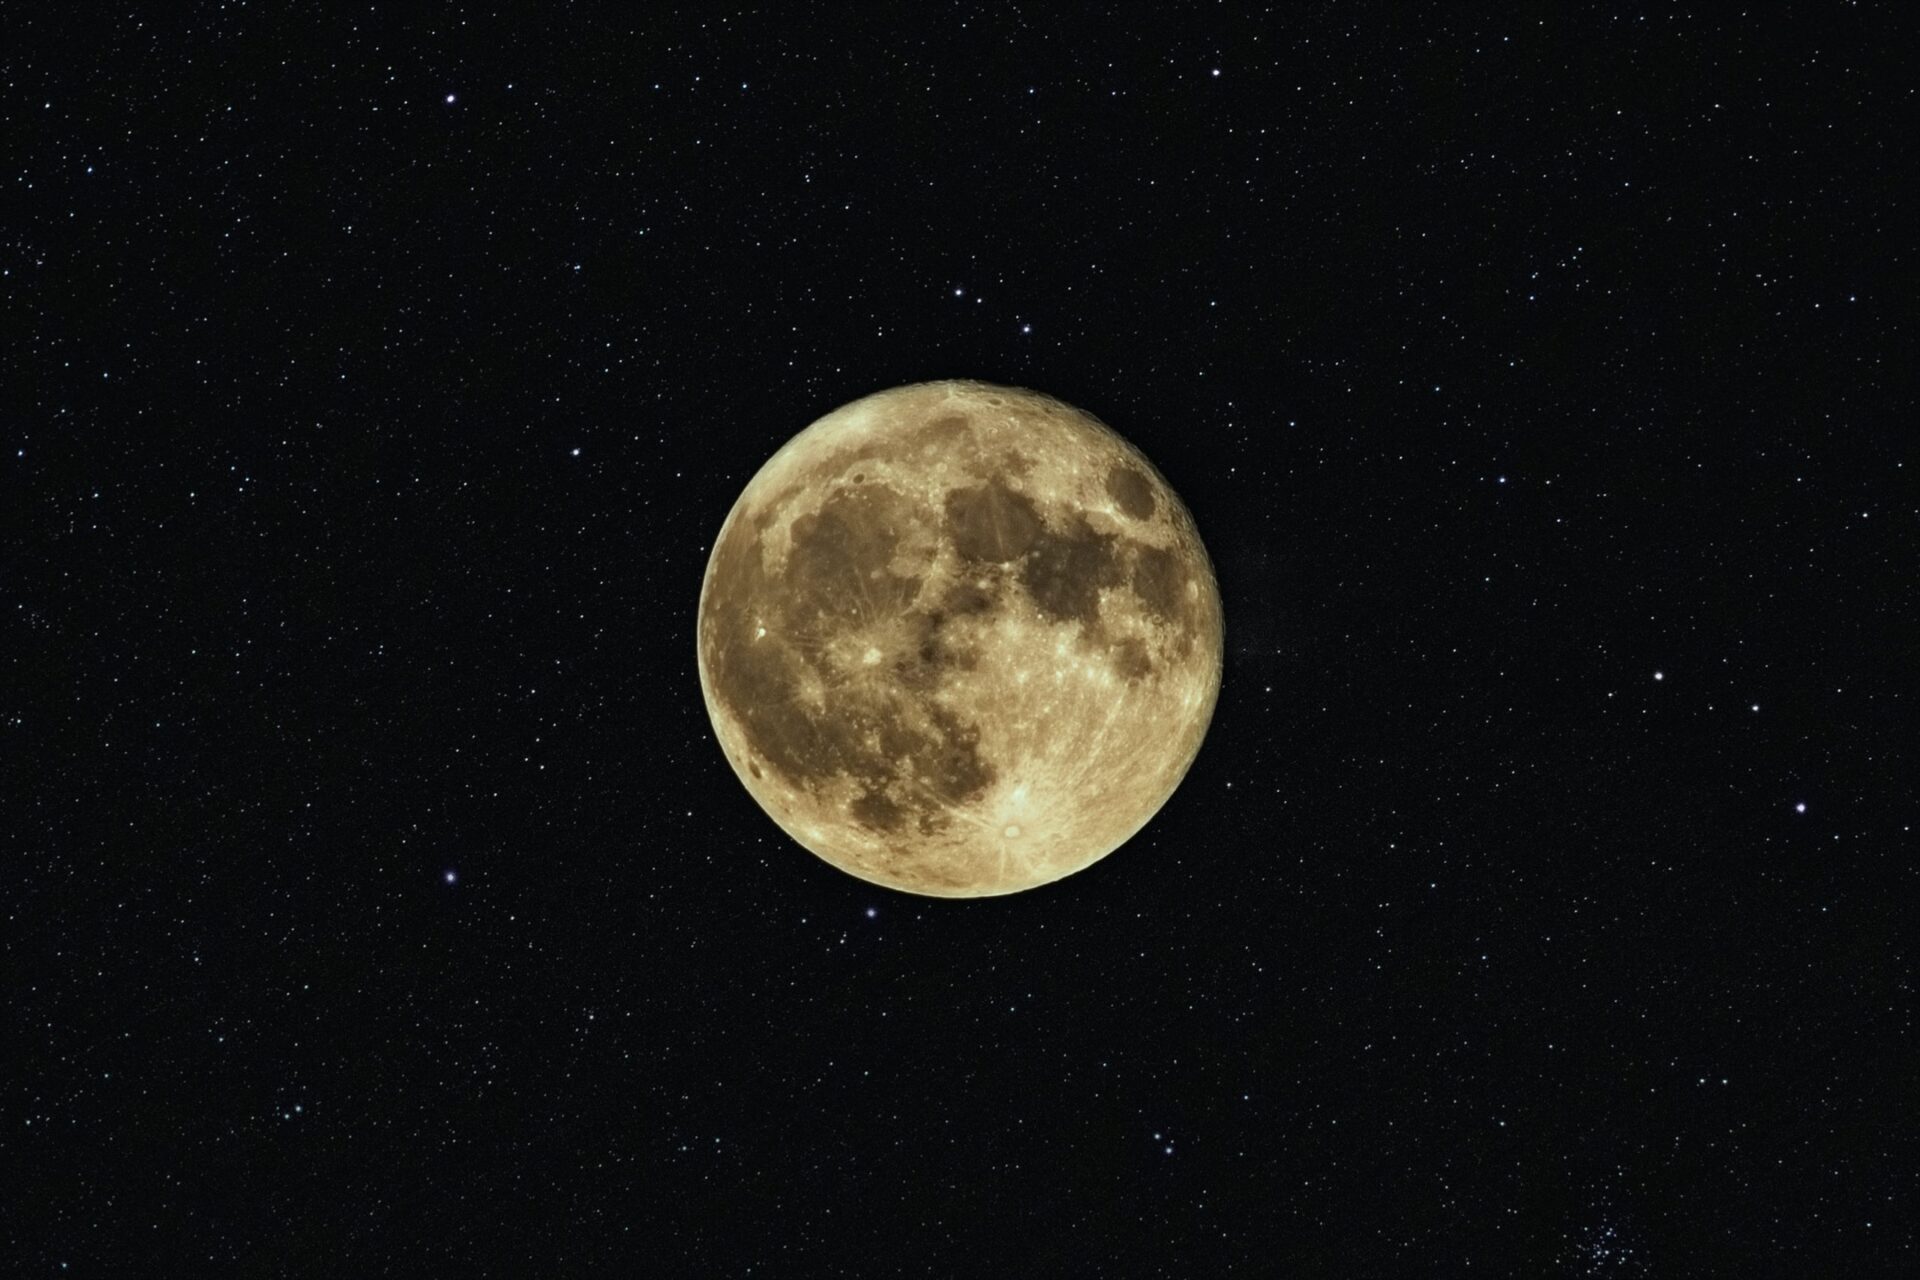
As you observe Polaris through your telescope, take note of its color and brightness. Polaris appears white, but some observers report a slight yellowish tint. Additionally, you may notice slight fluctuations in its brightness, which can be attributed to atmospheric effects such as twinkling or scintillation. The ability to discern these subtle traits of Polaris is one of the advantages of observing it through a telescope. By carefully noting these characteristics, you can deepen your understanding of this fascinating celestial object.
Exploring Polaris and Its Surroundings
Look for Polaris’ Companion, Polaris B
While observing Polaris through your telescope, you may also have the opportunity to search for its companion, Polaris B. Polaris B, also known as the North Star’s fainter companion, is located very close to Polaris but is much dimmer. With the help of a telescope, you may be able to spot this star, which adds another layer of interest and complexity to your observations. Keep in mind that Polaris B may not always be visible due to atmospheric conditions or other factors, so make sure to consult star charts or astronomy apps to determine the best time to look for it.
Observe the Little Dipper
Since Polaris is the brightest star in the Ursa Minor constellation, it serves as the guidepost for locating the Little Dipper, also known as Ursa Minor. Ursa Minor is composed of a group of stars that form the shape of a smaller dipper or ladle. Take the time to observe and appreciate the beauty of the Little Dipper through your telescope. Notice the fainter stars that make up this constellation, and imagine the North Star, Polaris, shining steadfastly at its tip.
Explore Nearby Constellations and Objects
While observing Polaris through your telescope, take the opportunity to explore other nearby constellations and celestial objects. The night sky is full of wonders waiting to be discovered. Use your telescope to search for neighboring constellations like Cassiopeia or Draco, or explore other objects such as star clusters, nebulae, or galaxies that may be visible in the same field of view. The more you explore and discover, the deeper your appreciation for the vastness and beauty of the universe will become.

Capturing Images of Polaris
Attach a Camera to the Telescope
If you want to capture stunning images of Polaris, consider attaching a camera to your telescope. Many telescopes have the option to connect a camera, allowing you to take long-exposure photographs and capture the intricate details of celestial objects. Mount your camera securely to the telescope following the manufacturer’s instructions. Experiment with different camera settings, exposure times, and filters to achieve the desired results.
Use a DSLR or Webcam for Astrophotography
For astrophotography purposes, a DSLR camera or webcam is highly recommended. These types of cameras have the necessary features and capabilities to capture high-quality images of celestial objects, including Polaris. By using a DSLR or webcam, you can take advantage of their larger image sensors, allowing for better resolution and more detailed photographs of Polaris and its surroundings. Familiarize yourself with the camera’s manual settings and explore different techniques for capturing the beauty of the night sky.
Experiment with Settings and Exposure Times
When capturing images of Polaris, don’t be afraid to experiment with different camera settings and exposure times. Adjusting the ISO, aperture, and shutter speed can greatly impact the final results of your astrophotography. Longer exposure times can unveil subtle details and bring out the colors in Polaris, while shorter exposures can produce pin-point star images. Remember to use a stable tripod or mount to prevent any blurring or movement during long exposures. Allow yourself to be creative and patient, as capturing stunning images of Polaris may require some trial and error.
Understanding Polar Alignment
Learn About Polar Alignment
Polar alignment refers to the process of aligning your telescope’s mount or equatorial mount with the Earth’s axis of rotation. This alignment is crucial for accurate tracking and smooth movement of your telescope as it follows celestial objects, including Polaris. By aligning your telescope’s mount with the celestial pole, you ensure that it can accurately track Polaris and other objects as the Earth rotates.
Understand the Importance of Polar Alignment
Proper polar alignment is vital for astrophotography and long-duration observations. When your telescope is polar-aligned, it can smoothly track and follow celestial objects across the night sky, resulting in sharp and detailed images. Without accurate polar alignment, tracking errors can occur, leading to blurred or distorted images. Taking the time to understand and perform polar alignment correctly will significantly enhance the quality of your observations and astrophotography.
Use a Polar Alignment Scope for Better Tracking
To achieve more accurate polar alignment, consider using a polar alignment scope. A polar alignment scope is a specialized tool that allows for precise alignment with the celestial pole. It typically utilizes an illuminated reticle to help you align your telescope with the Earth’s axis. By using a polar alignment scope, you can achieve greater accuracy in your polar alignment, improving your telescope’s tracking abilities and overall observational experience.

Maintaining Your Telescope
Clean the Telescope Optics Regularly
To ensure optimal performance and clear observations, it’s essential to clean your telescope optics regularly. Over time, dust, dirt, and other particles can accumulate on the lenses or mirrors of your telescope, impacting image quality. Use a soft brush, compressed air, or specialized optic cleaning tools to gently remove any debris. Be extremely cautious during the cleaning process to prevent any scratches or damage to the delicate surfaces. Regular maintenance and cleaning will keep your telescope in excellent condition for years to come.
Protect the Telescope from Dust and Humidity
In addition to regular cleaning, it’s important to protect your telescope from dust and humidity when not in use. Dust can accumulate on the exposed surfaces and optics, affecting the quality of your observations. Store your telescope in a clean, dry, and dust-free environment, preferably in a protective case or bag. If your telescope is exposed to high humidity, consider using a dehumidifier or moisture-absorbing materials to prevent any moisture buildup that could lead to corrosion or other damage.
Tips and Precautions
Choose a Clear, Dark Sky for Better Observations
When observing the North Star or any celestial objects with your telescope, it’s crucial to choose a clear and dark sky for optimal viewing conditions. Light pollution from cities or neighboring sources can greatly diminish the visibility of stars and other objects in the night sky. Find a location away from bright lights and allow your eyes to adapt to the darkness. The absence of light pollution will enhance the visibility of Polaris and improve the overall quality of your observations.
Avoid Light Pollution
To minimize the impact of light pollution on your observations, choose a location as far away from city lights as possible. Light pollution not only reduces the visibility of stars but also affects the contrast and overall quality of your observations. By seeking out dark sky locations or observing during periods of reduced light pollution, such as during new moon phases, you can maximize your chances of observing the North Star and other celestial objects in their full glory.
Take Breaks to Avoid Eye Strain
Observing the North Star or any celestial object for extended periods through a telescope can strain your eyes. To prevent eye fatigue, discomfort, or headaches, it’s important to take regular breaks during your observing sessions. Look away from the eyepiece, rest your eyes, and stretch periodically. This will not only alleviate any discomfort but also help you maintain focus and appreciate the beauty of the night sky for longer periods.
Avoid Touching the Telescope Optics
As tempting as it may be to wipe away smudges or fingerprints on the telescope optics, it’s crucial to avoid touching them directly. The delicate surfaces of lenses and mirrors can easily be scratched or damaged by rough handling or abrasive materials. If cleaning is necessary, utilize specialized optic cleaning tools or seek professional assistance. Be mindful of any potential damage caused by accidental contact, and handle your telescope with care and precision.
In conclusion, observing the North Star, or Polaris, with a telescope can be a rewarding and mesmerizing experience. By choosing the right telescope, aligning it properly, and understanding Polaris’ position and importance, you can embark on a journey to explore the night sky like never before. Take your time to discover the beauty of Polaris and its surroundings, experiment with capturing stunning images, and maintain your telescope to ensure its longevity. With these tips and precautions in mind, you’ll be well-equipped to embark on an enchanting celestial voyage, where the North Star will serve as your guiding light. Enjoy the wonders of the night sky and let your telescope unveil the secrets of the universe.